Monday, 4 July 2022

Happiness Abounds - Concertina Panel Display Card


In my previous post - HERE - I showed you how I created this style of card and gave you instructions on how to create the Box. 

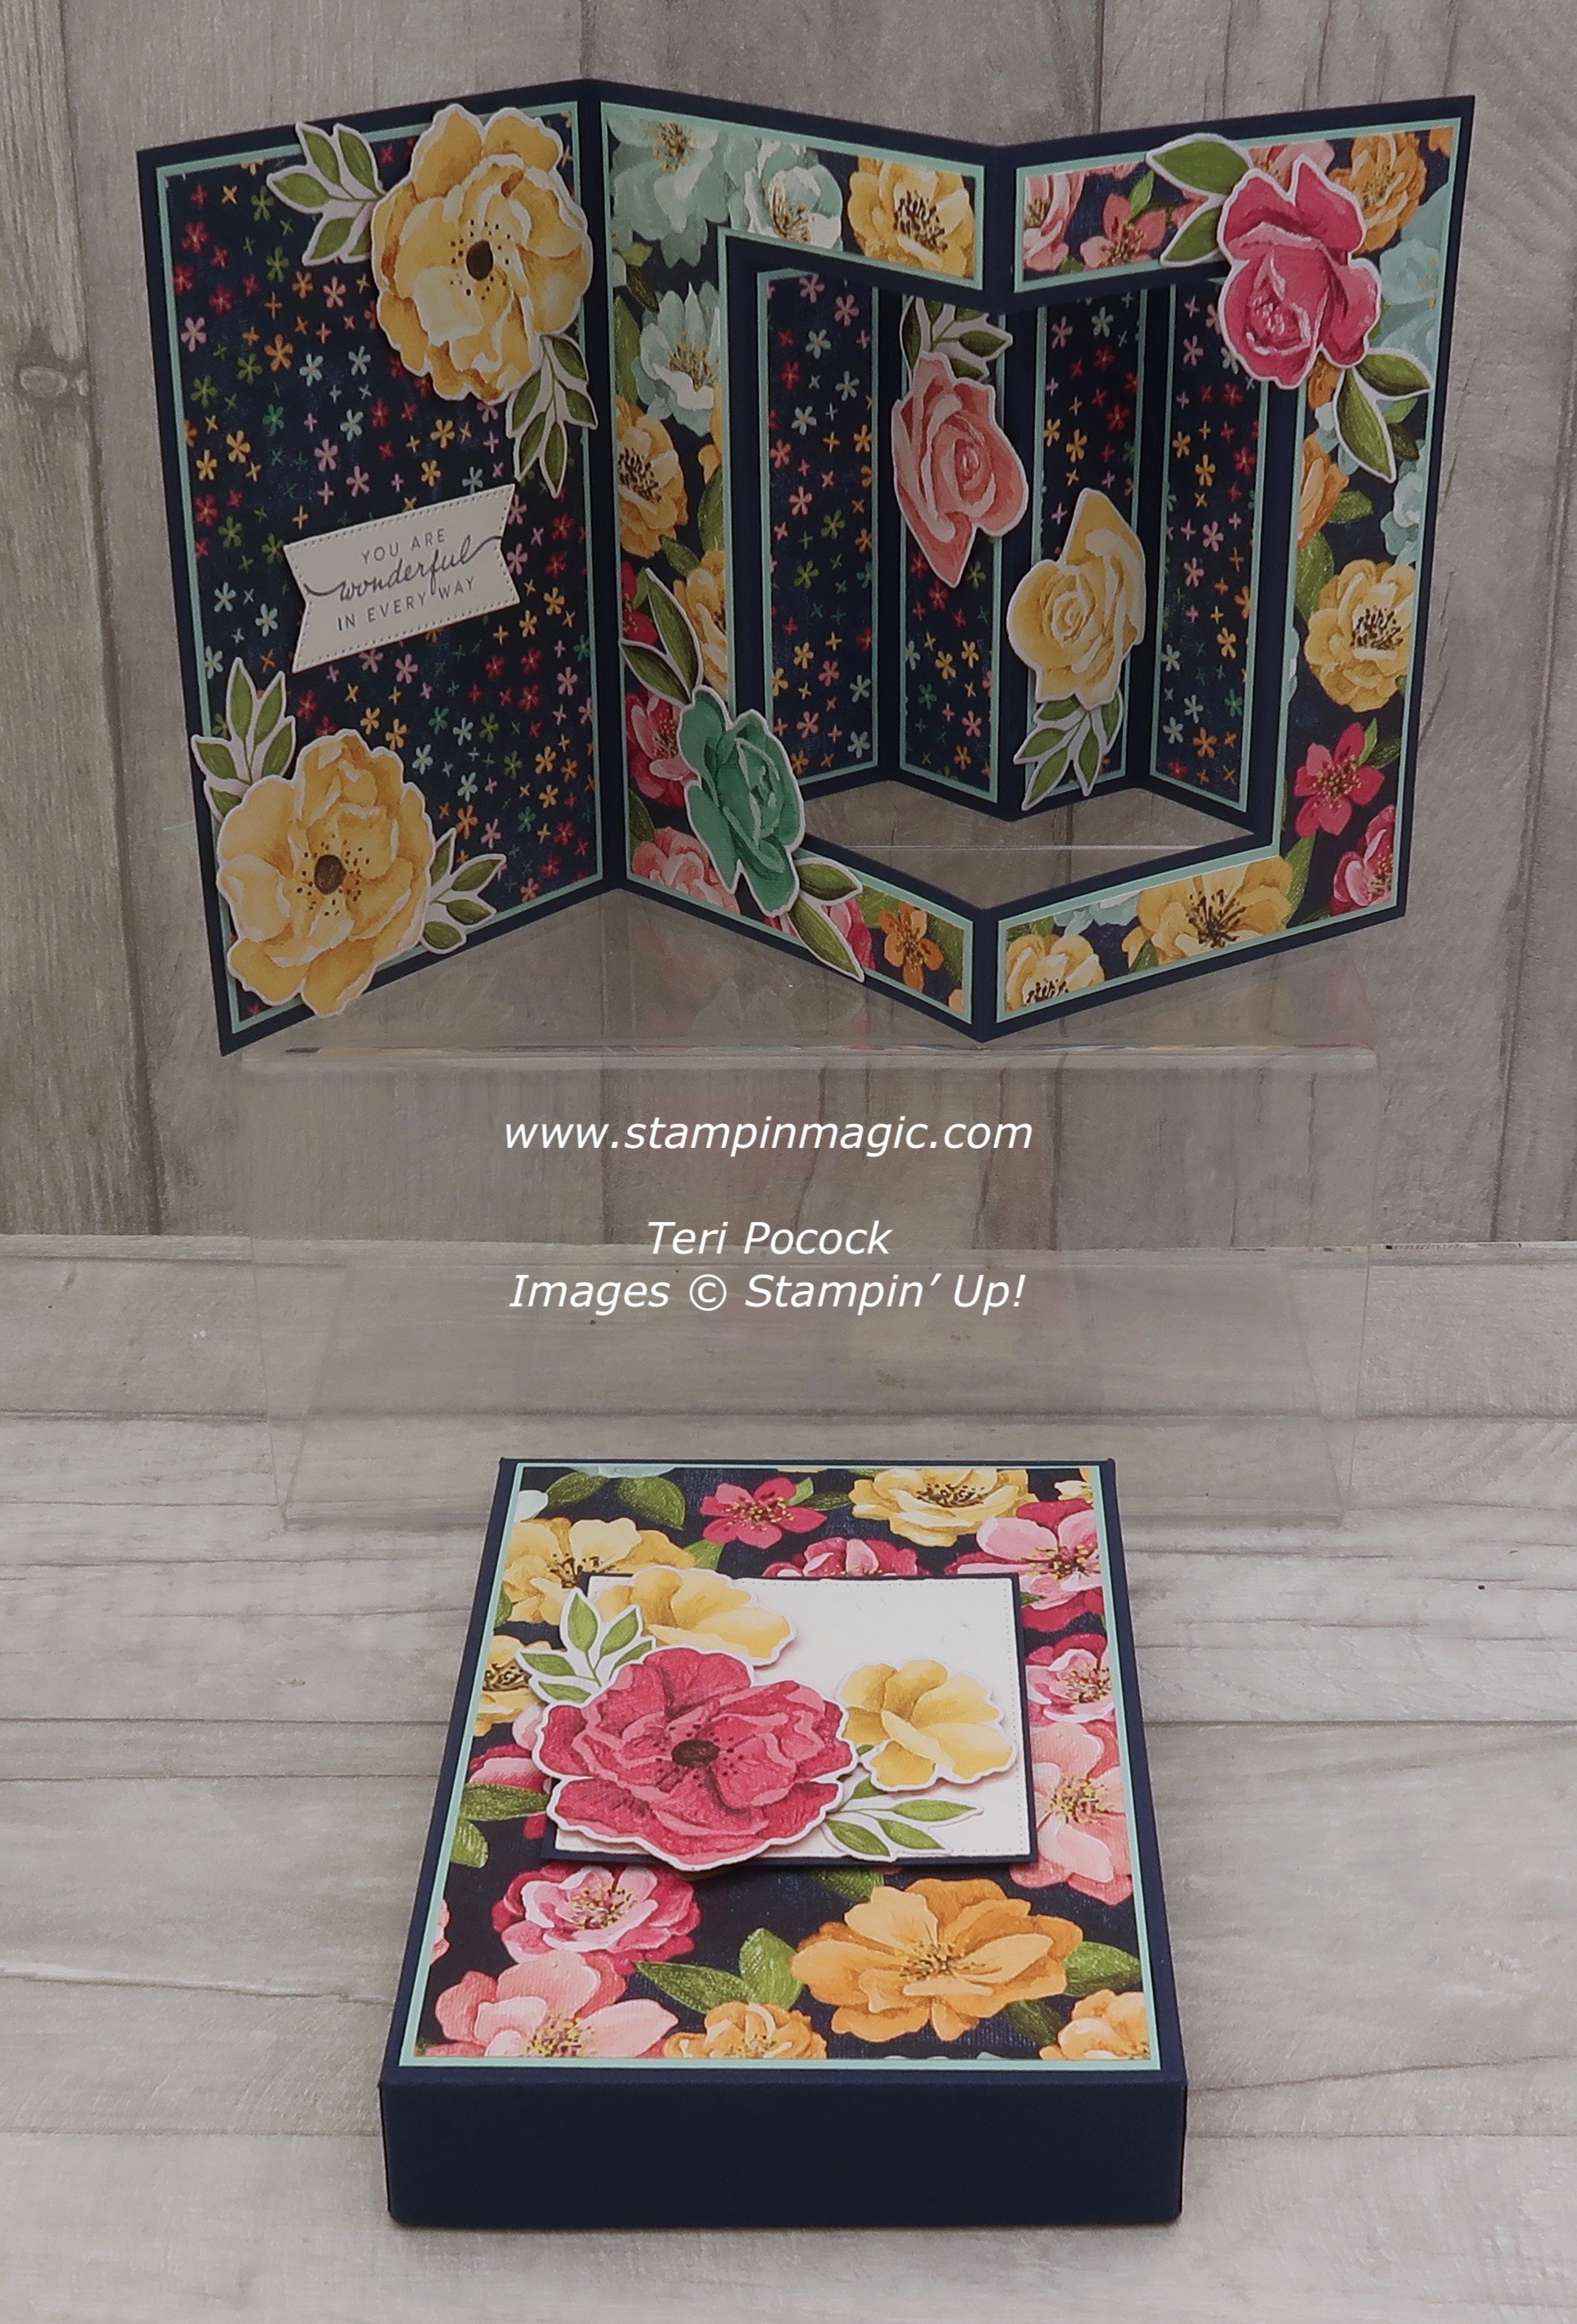
Today I'm sharing the first card I created in this style. It's a Concertina Panel Display card. 

I used the Happiness Abounds stamp set and coordinating Blossoming Happiness dies, together with papers from the Hues of Happiness Designer Series Paper pack.


Most of the images used for this project were die cut from the paper and not stamped and coloured.


This is the front of the card. The Basic White panel was cut using one of the Stylish Shapes dies and embossed using the Painted Texture 3D folder.


The card displays beautifully. There are four sheets in the paper pack with images on them that you can die cut - you have lots of choice!

You need a piece of 12"x6" for the card base - so half a sheet of 12"x12". If you haven't got this in the colour you want to use then you can just create a base using your standard size card. I show you how to do this in the Video.


This is the back of the card. I added the message panel here. You can press the card flat to write on it ... and I actually stamped on this :o)


This is how the card looks from above.


Find Me On Facebook

Follow Me On Pinterest

Subscribe To My YouTube Channel

Supplies Used

If you are in Europe (UK, DE, FR, NL or AT ) you can purchase any of the products below through me in my Online Store. Click on any of the links to take you directly to that item.


Saturday, 2 July 2022

July to December Mini Catalogue - And Another Sale-a-Bration!


Yesterday saw the release of the new July to December Mini Catalogue.

Click on the picture to view and/or download the Catalogue to your computer. NOTE: The download button will be shown on the top left of your screen once the catalogue displays.

There are so many amazing new products in this Catalogue - you will love it!


The Sale-a-Bration Promotion runs from today until the end of August- again click on the picture to view and/or download (download button will display on the top left of the screen).


Sale-a-Bration works in 3 different ways ...

You can choose a FREE gift from the Sale-a-Bration Brochure for each £45 spent on any one order. A few of the FREE gifts require a spend of £90.

If you place an order of £275 or more - either your own order or including orders from your friends and family - as well as the normal Host Benefits you would have earned (£33 worth of free products on a £275 order) you will also receive the Perfect Pomegranate stamp set absolutely FREE.


Join Stampin' Up! during the Sale-a-Bration promotion to get extra FREE products. 

You build your own Starter Kit to contain products to a value of £130 for a cost to you of £99. You will also receive an assortment of FREE Business supplies. In addition during Sale-a-Bration, you receive the Making Plans Collection for FREE with your kit.


And ... there is NO SHIPPING to pay! When you are ready, click on the JOIN MY TEAM Tab at the top of this Blog.

Friday, 1 July 2022

True Beauty - Concertina Panel Display Card - Video Tutorial


I have another fancy fold card - and Video - to share with you today.

I'm calling this one a Concertina Panel Display card. I used the True Beauty stamp set and coordinating Organic Beauty dies, together with papers from the Awash In Beauty Designer Series Paper pack.

There is hardly any stamping with this project - almost all the images were die cut from the papers. I only stamped a little on the message mat and haven't added any sentiments to the card (yet!).


I created a Box for it because the card is very bulky. 

When folded, the card measures 6" x 4". I do have a Box Video for this size but it wasn't deep enough - it needs to be 1" at least. 


I haven't been able to create a Video for this size box yet, but if you would like to make one for your card ... here are the basic measurements ...

Box Base:               8⅛” x 6¼” - Score on all sides at1”

Box Lid:                   3/16” x 6 5/16" - Score on all sides at 1”

Mats

Blushing Bride                        15.25cm x 10.4cm       (6” x 4⅛”)
Awash In Beauty DSP        14.95cm x 10.1cm       (5⅞” x 4”)
Balmy Blue                                9.6cm x 4.5cm               (4½" x 3⅛”)


This is the front of the card. There are 2 12"x12" sheets full of images that you can die cut.

The Basic White panel was die cut using one of the Stitched Rectangle dies and embossed using the Painted Texture 3D folder.

The gold pearls are from the Festive Pearls pack.


The Floral arrangement on the left was hand cut from another of the papers in the pack - again you get 2 sheets full of different arrangements that you can use.


I added a message panel to the back of the card, but you could add it to the inside if you prefer. 

Adding it to the back does increase the bulk of the card, so it probably isn't the best place for it ... but I really didn't want it on the inside as the recipient is more than likely going to be displaying the card fully open on the mantle.


Here is the top view of the card.


... and the card fully opened and flat.


You would flatten out the card before writing on the message panel.

Here is the Video ...


Measurements

Card Base - EITHER:

Balmy Blue                                                 12” x 6”


With the LONG side across the TOP score down at

                                                           4” and 8”


Card Base - OR:    

Balmy Blue                                                 4½” x 6”     – score down at 4”

Balmy Blue                                                 8” x 6”        – score down at 4”


Join both pieces together to create 12” x 6” card base


Using the Trimmer … Card Base


With the SHORT side across the TOP:

Position the RIGHT hand edge at 1” and cut down from 5½” to 10½”

Position the LEFT hand edge at 1” and cut down from 5½” to 10½”


With the LONG side across the TOP, score down between the cut lines (1” to 5”) at:

5½”, 6¾”, 9¼” and 10½”


Mats: 


Balmy Blue - front                                4½” x 3


Blushing Bride x4                                 5¾” x 3¾”

Awash In Beauty DSP x4                 5⅝” x 3⅝”


Blushing Bride x4                                 3¾” x 1”

Awash In Beauty DSP x4                 3⅝” x 


Basic White – message panel       3¾” x 2¼”


Cutting the Blushing Bride 5¾” x 3¾” panel x2


With the LONG side across the top:

Position the RIGHT hand edge at ¾” and cut down to 2½”

Position the LEFT hand edge at ¾” and cut down to 2½”


Turn so the UNCUT long side is on the right and positioned at 1¼”

             Cut between the two horizontal cut lines (¾” to 5”)


Cutting the Awash In Beauty 5⅝” x 3⅝” panel x2


NOTE: When cutting the paper you must pay attention to the pattern design to determine which long edge you are cutting from – see the Video for full details


With the LONG side across the top:

Position the RIGHT hand edge at ⅝” and cut down to 2½”

Position the LEFT hand edge at ⅝” and cut down to 2½”


Turn so the UNCUT long side is on the right and positioned at 1

             Cut between the two horizontal cut lines (⅝”to 5”)    


Find Me On Facebook

Follow Me On Pinterest

Subscribe To My YouTube Channel

Supplies Used

If you are in Europe (UK, DE, FR, NL or AT ) you can purchase any of the products below through me in my Online Store. Click on any of the links to take you directly to that item.