Friday 2 December 2022

Caroling Mice - 2 Tier Stepper Box - Video Tutorial


I've been meaning to make these little boxes for so long now! I haven't made a Stepper Box in over 11 years! I thought these with just two trays were so cute and chose to use the Hostess stamp set Caroling Mice to decorate them. 

You can see my last Stepper Box HERE.


The Caroling Mice stamp set contains two super cute Mice images as well as other images that you can use to complete your projects.

Because the stamp set is a Host set it can be found at the back of the current Mini Catalogue.


As usual I also created a coordinating card to go with the Box.


The Box measures 3⅛" square at the base and is 3¼" tall. The lid keeps the Box closed.


When open you can see the two trays. I've filled my with chocolates but you could add any small gifts inside.


I used one of the Scalloped Contour dies to create the Basic White mat for the cards. 


This is the Box that I created in the Video. You can find all the supplies used listed down below.


All the images were stamped using Memento Tuxedo Black ink and coloured with the Stampin' Blends alcohol markers. 


The paper used on each of the sets are from the Lights Aglow 6" Designer Series paper pack.


The paper pack is a Specialty pack. The design on one side of each sheet has Gold Foiling which is just beautiful.


In addition to the Blends marker colours listed below I also used Grey Granite, Daffodil Delight and Night of Navy on the cards. The first project also used Evening Evergreen instead of Soft Succulent.


After creating two of these project sets I thought they would make nice gifts for two of my nieces and decided to make an additional one for their brother, one of my nephews :o)


I really love how this one turned out. Black isn't usually a colour I would choose for Christmas, but with the Gold Foiling it's beautiful.


This Box is super easy to create and doesn't take long. I made them all in one day as well as creating the Video :o)


The Video takes you through the process of creating the Box step, by step. It's a lovely project and I hope you give it a go :o)


Here is the Video ...


Measurements

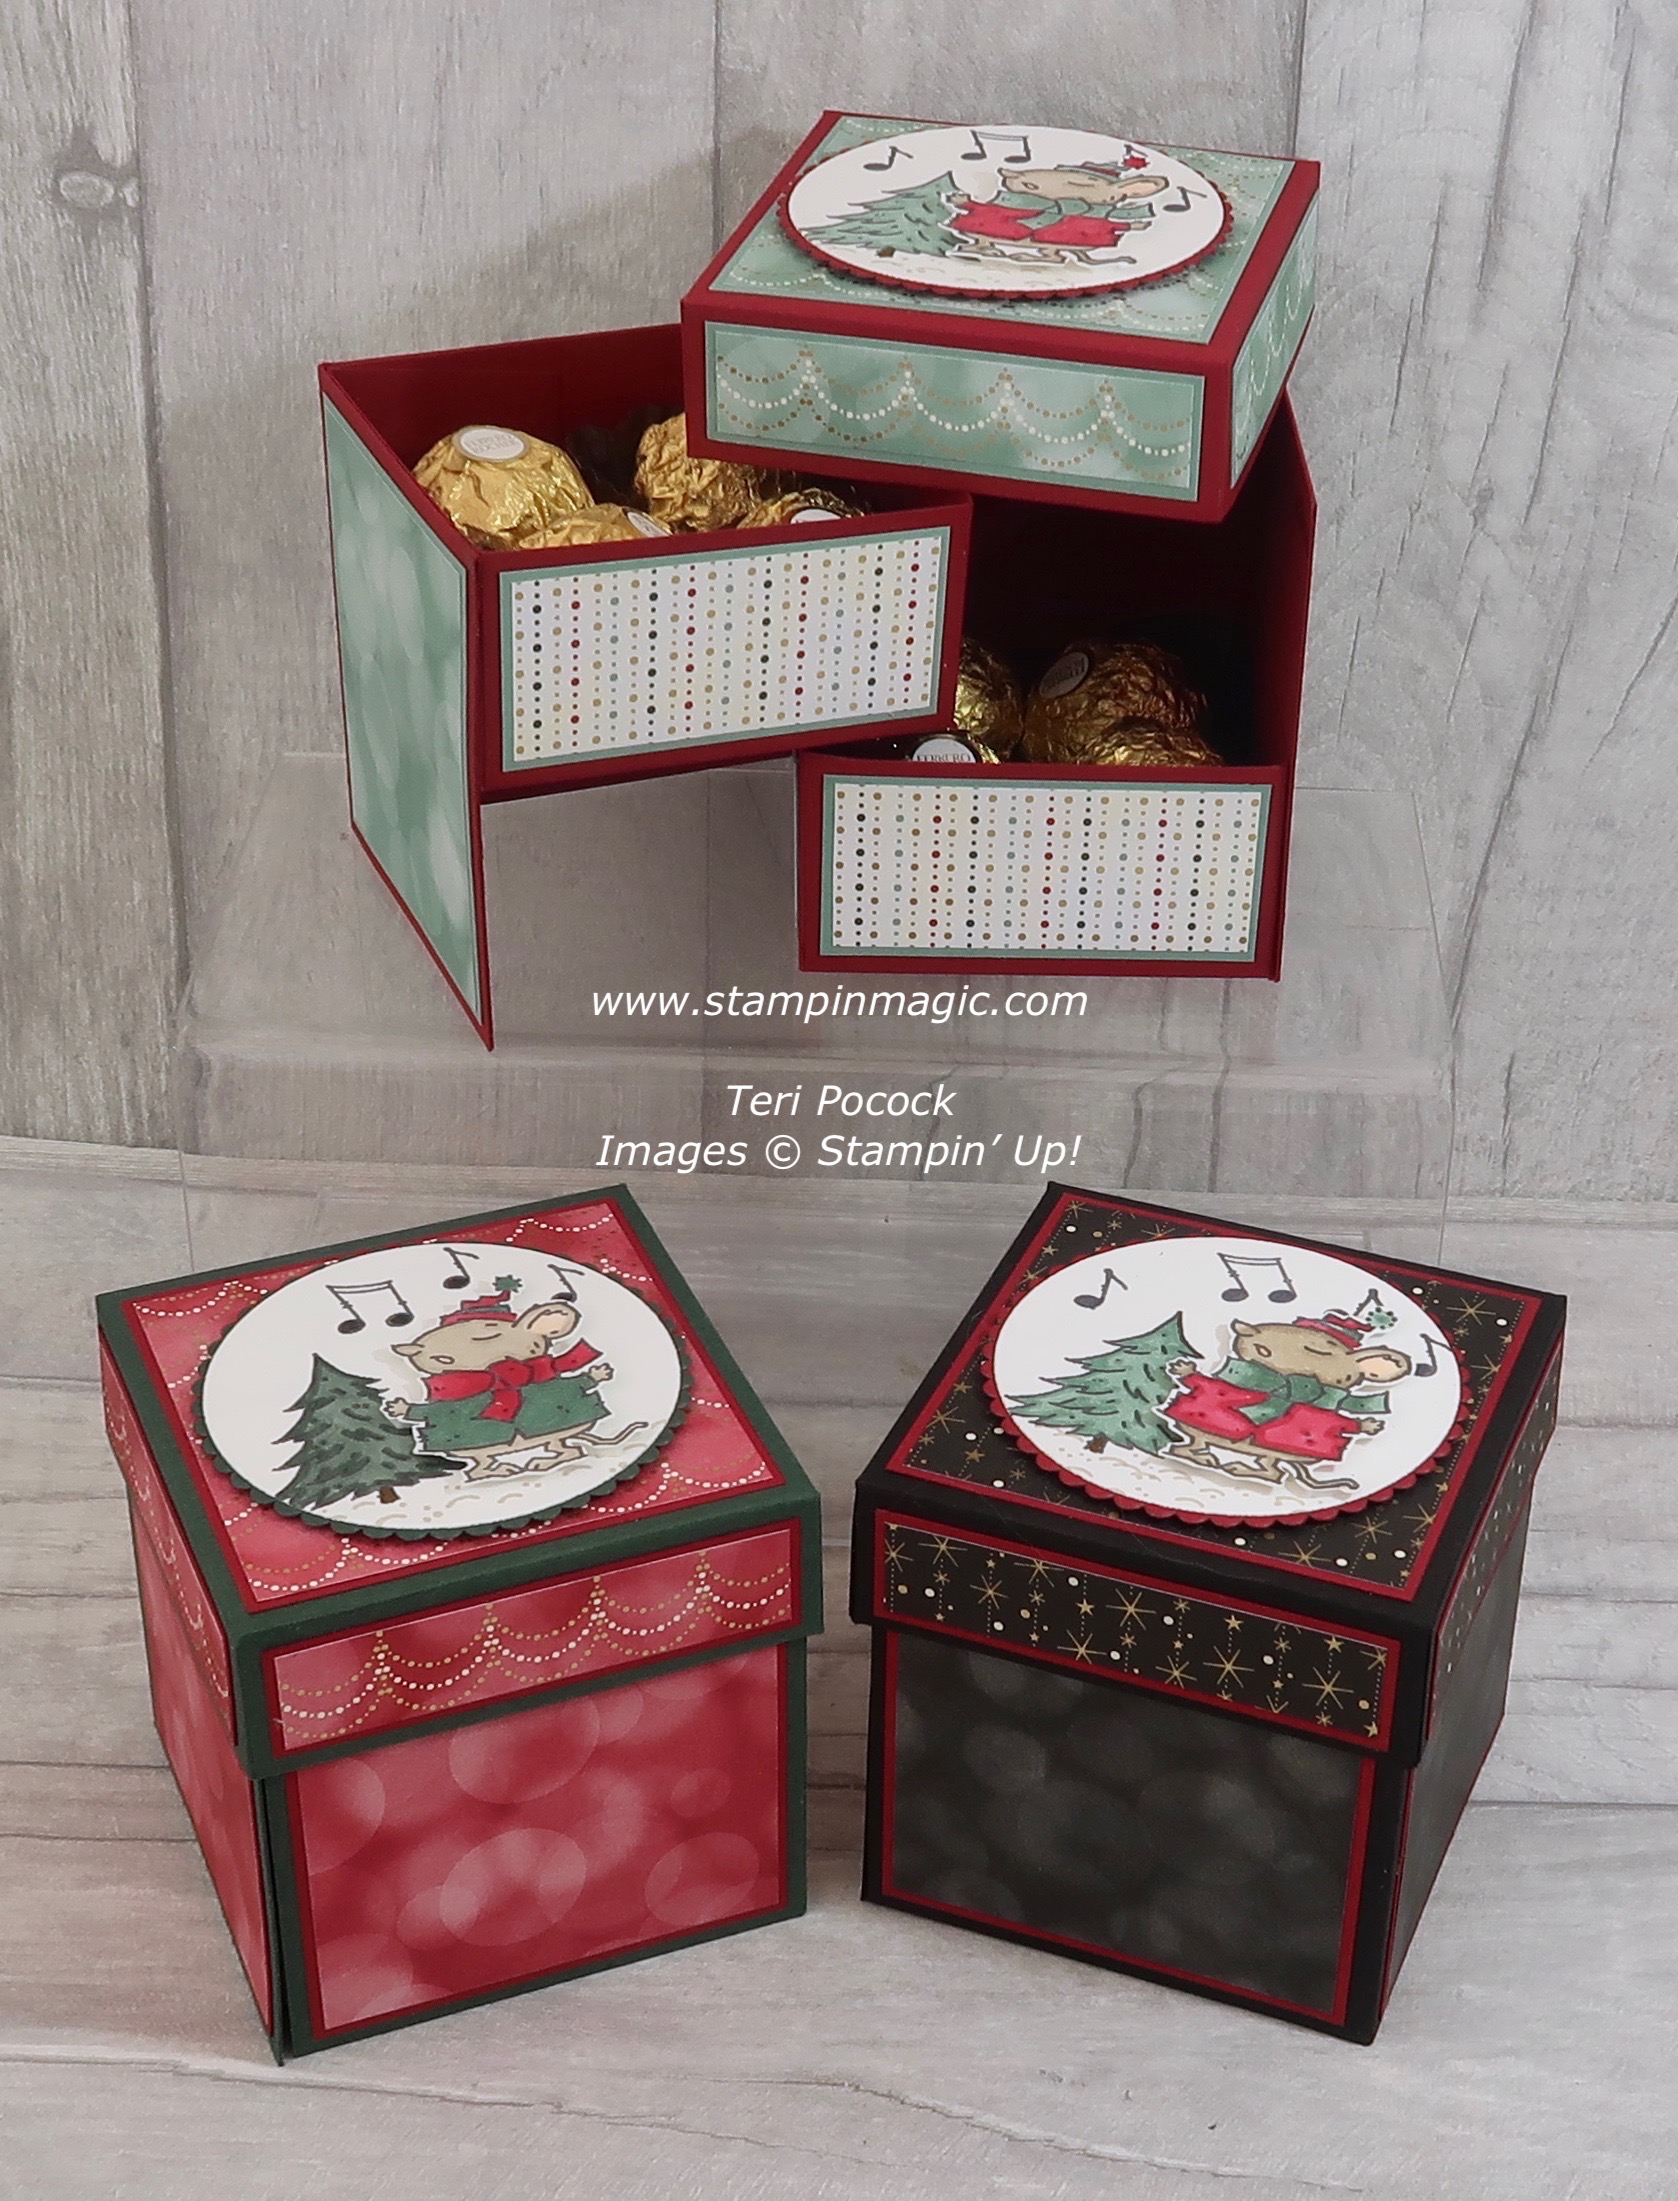
Cherry Cobbler – Base 1                                            6¾” x 6½”


With the LONG side across the TOP, score down at 3” and 6¼”

With the SHORT side across the TOP, score down at 3¼”


Cherry Cobbler – Base 2                                            6½” x 6¼”


With the LONG side across the TOP, score down at 3¼”

With the SHORT side across the TOP, score down at 3


Cherry Cobbler – Lid                                                     7¼” x 7¼”


Score on all sides at 1” and 2”


Cherry Cobbler – Tray/Drawer x2                         6” x 6”


Score on all sides at 1½”


Mats: 


Lid:

Soft Succulent                                3” x 3”                 (7.6cm x 7.6cm)

Lights Aglow DSP                         2” x 2”          (7.3cm x 7.3cm)


Soft Succulent x4                          3” x ¾”                 (7.6cm x 1.9cm)

Lights Aglow DSP x4                   2” x ⅝”             (7.3cm x 1.6cm)


Base:

Soft Succulent x4                          3” x 2”               (7.6cm x 7.3cm)

Lights Aglow DSP x4                   2” x 2¾”           (7.3cm x 7cm)


Trays/Drawers:

Soft Succulent x4                          2¾” x 1¼”             (7cm x 3.2cm)

Lights Aglow DSP x4                   2⅝” x 1            (6.7cm x 2.9cm)


You will need additional Basic White card to complete the project.


Find Me On Facebook

Follow Me On Pinterest

Subscribe To My YouTube Channel

Supplies Used

If you are in Europe (UK, DE, FR, NL or AT ) you can purchase any of the products below through me in my Online Store. Click on any of the links to take you directly to that item. 


No comments: