Friday, 24 November 2017

Painted Harvest - Eclipse Card


Eclipse cards are all over the internet at the moment! I fell in love with them, some of them are absolutely stunning!

I decided to design two different ones as the Make and Takes for my Team Training meeting this month. This one was supposed to be the 'fast' card :o) 

The stamping was straight forward and only took a minute or so. The panel was then passed through the Big Shot with our Happy Birthday thinlits die. You need to keep all the little 'waste' bits after this is done, so you can position them all back onto the card layer - even this didn't take long.

What did take ages on this card was putting all the Dimensionals on the back of the greeting! I did use a lot as I wanted it fully supported. Even the Mini Dimensionals were too wide for most of it, so they all had to be cut :o) I didn't mind though, I think the card looks great! 
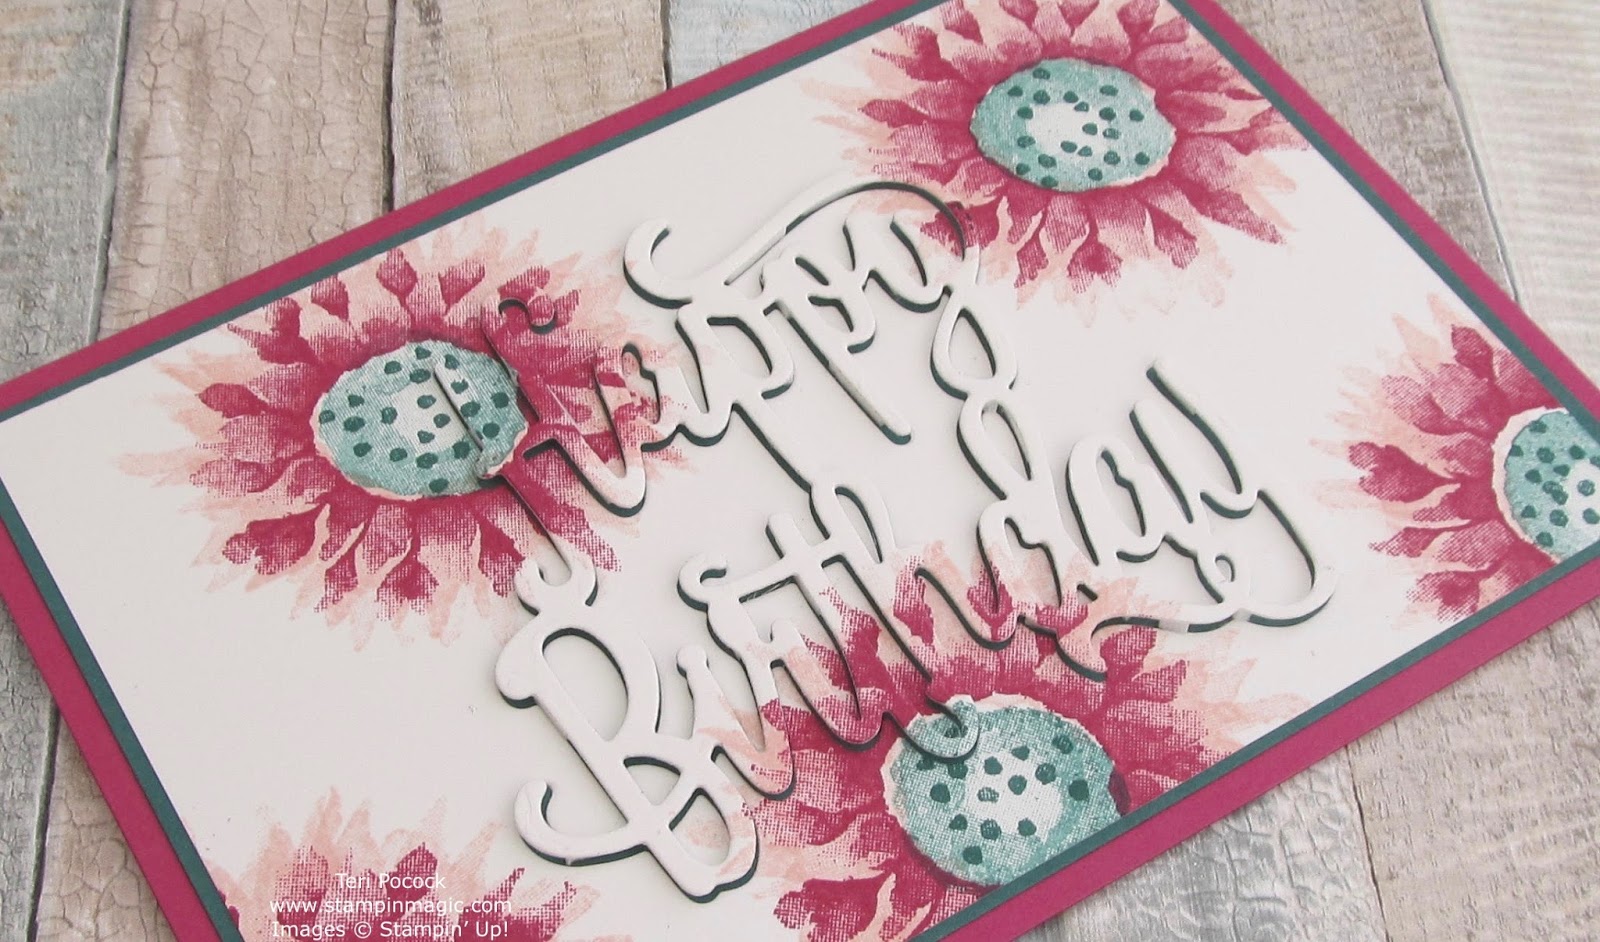

I chose Powder Pink ink for the first layer on my flowers, then stamped the detail image using Berry Burst.

The centre of the flowers is Tranquil Tide, but stamped 'off' first. Then the little dots were without it being stamped 'off'.


Wednesday, 22 November 2017

Hearts Come Home - Acetate Card


Here is another card from my Christmas card class earlier this month. Apologies for the bad photos today, but I struggled trying to  photograph this lovely card!

This one was inspired by a beautiful card created by Anne-Marie, a fellow Demonstrator.

The acetate base card was created using some of our Window Sheet.

All my class attendees received some of the Merry Little Christmas papers, a full sheet of the Dazzling Diamonds Glimmer and a half sheet of the Gold Foil. 

I used the Glimmer card on all the projects. It's important to remove the plastic backing before trying to run it through the Big Shot with the dies - it's very hard to cut otherwise! The backing does come away quite easily if you start at a corner and gently pull it off :o)


The Santa, Sleigh and Reindeer image was stamped using Black Stazon - It's such a shame we no longer sell this. You can use our Black Archival ink but it's not as permanent as the Stazon and if you rub it when dry, it will come away.


Monday, 20 November 2017

Flower Shop - October Class Gifts


These were the little gifts I gave each of my Class attendees at my last month's Project Class.

The box design isn't mine - it's based on one by Cornelia Janssen. You can find her video here. The video is in German, of which I have no knowledge :o) but it's still very easy to follow. 

I changed all the measurements for my little box, making it a little bigger and converting to inches. I also added the ribbon pull to help with opening it. I didn't score the paper, but just wrapped it around the box creasing it on the edges and securing it with tape adhesive.


This is another of the flower stamps from the Flower Shop set. I coloured it using my Stampin' Blends during my recent 'play' session :o)

The sentiment comes from the Rose Wonder stamp set.


Inside is a yummy chocolate treat!