

About a year ago I created a Side Step card video tutorial HERE using the Winter Woods stamp set and coordinating dies. I created the video using metric measurements only because there are so many videos showing versions of side step cards in imperial measurements (inches) and only a handful with metric measurements. Well .... I have had so many people ask me if I have the imperial measurements for those cards ... and I didn't.
Today, that all changes and I have another Video for you ... with another version of the card. I have included measurements for A4 users (metric) and 8 1/2" x 11" users (imperial).

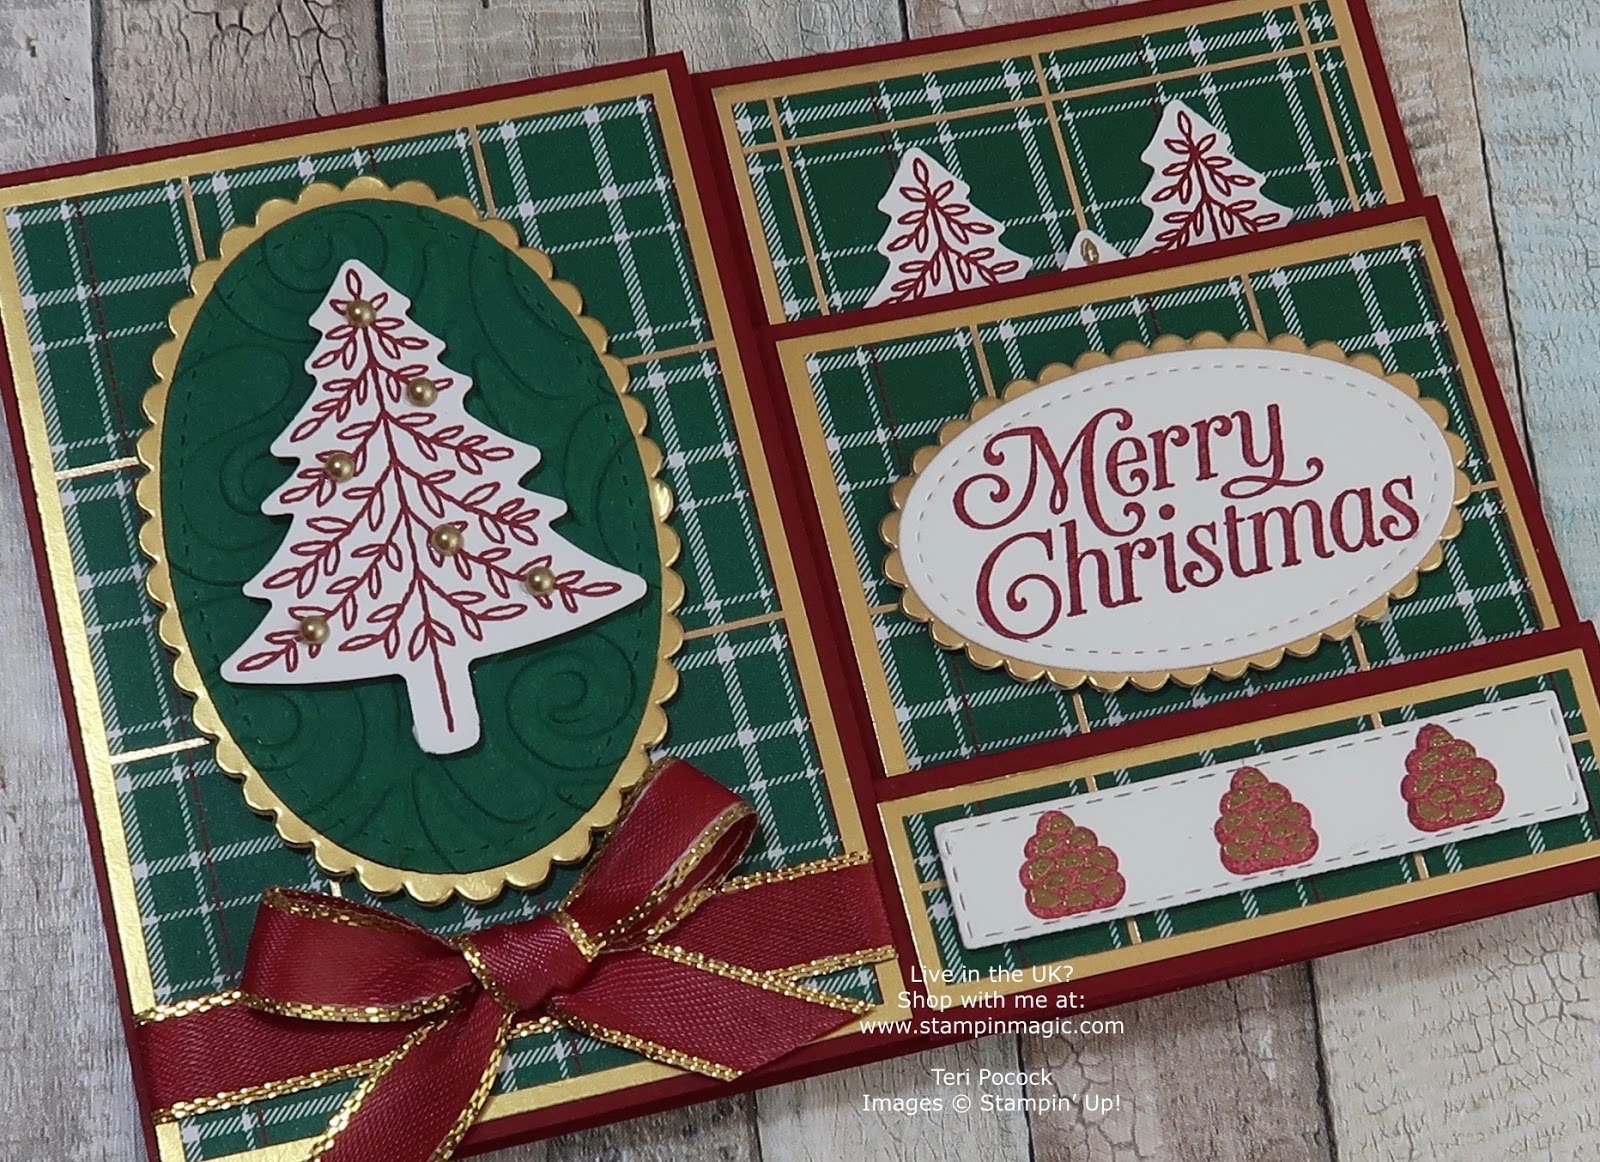
This time I used the Perfectly Plaid stamp set and coordinating Pine Tree punch. All the mats and layers are the same as my original cards.

I used Shaded Spruce with Cherry Cobbler for my first card pairing it with Gold Foil which matches the foil running through the coordinating Wrapped in Plaid Specialty papers.
The ribbon is our gorgeous Shaded Spruce/Gold Strip Ribbon.

Here is a side view of the card.

This is the one I created in the Video. I reversed the colours just to change it up a little.
The ribbon is our Metallic Edge Gold ribbon. I coloured it using the Dark Cherry Cobbler Stampin' Blends alcohol marker.
The US/Canada version of this card will look a little different to this one. Yours will be just a little taller, but the whole card will be narrower because of your cardstock size. The 'steps' on the right hand side will look a little different too, but you won't see this when the card is finished because the back two steps are completely covered with the panels.
I have made the layers for US/Canada at 1/8" intervals. I would normally use 1/4" but the sentiment and pine cone strip wouldn't look right with those dimensions. There are other ways around these little problems but I didn't want to change the look of the card any more than it already was :o)

This is the card fully opened out. When closed it will fit into a standard sized envelope. I've also added a panel inside the card for you to write your message.

I created just one more sample. This one used the Dashing Deer stamp set and coordinating Detailed Deer thinlits dies.
The colours are Basic Black, Silver Foil and Smoky Slate. The ribbon is our Glittered Organdy.

All the Black stamping has been overstamped with Versamark and heat embossed with Clear powder.
Underneath the large Deer there are three more layers of Deer cut from Black card - this gives it a lovely solid dimension.

Here is the Video ...
Measurements
Note: If you use A4 as your standard sheet of card – follow the metric measurements (cms).
If you use 8½” x 11” as your standard sheet of card – follow the imperial measurements (inches).
Cherry Cobbler card base 21cm x 14.8cm (US 8½”x 5½”)
With the SHORTER side across the top:
Line the LEFT edge up at 7.4cm (US 2¾”)
Cutfrom 4cm to 18.5cm (US 1¾” to 7½”)
Place into the scoreboard with the LONGER side across the top:
Score down to the cut line only at:
4cm, 8cm, 12cm, 16cm and 18.5cm
(US 1¾”, 3½”, 5”, 6½” and 7½”)
Turn the card to the opposite LONG side and score down to the cut line only at:
10.5cm (US 4¼”)
Mats & Layers
Whisper White (inside) 10.1cm x 7cm (US 4⅛” x 2⅝”)
Left Side Mats:
Gold Foil 10.1cm x 7cm (US 4⅛” x 2⅝”)
DSP 9.7cm x 6.6cm (US 4” x 2½”)
Right Side Mats:
Back: Cherry Cobbler 10.3cm x 7.4cm (US 4 3/16” x 2¾”)
Gold Foil 9.9cm x 7cm (US 4 1/16” x 2⅝”)
DSP 9.5cm x 6.6cm (US 3 15/16” x 2½”)
Middle: Cherry Cobbler 7.4cm x 7.4cm (US 2¾” x 2¾”)
Gold Foil 7cm x 7cm (US 2⅝” x 2⅝”)
DSP 6.6cm x 6.6cm (US 2½”x 2½”)
Front: Gold Foil 7.2cm x 2.1cm (US 211/16”x ⅞”)
DSP 6.8cm x 1.7cm (US 29/16” x ¾”)
Ribbon (approx.) 10cm & 20cm (US 4” x 8”)
You will also need more Whisper White card for stamping, punching and die cutting and more Gold Foil for die cutting.

Shop With Me Online - 24/7
Join My Team
Find Me On Facebook
Follow Me On Pinterest
Subscribe To My YouTube Channel
Supplies Used
If you are in Europe (UK, DE, FR, NL or AT ) you can purchase any of the products below through me in my Online Store. Click on any of the links to take you directly to that item.
Join My Team
Find Me On Facebook
Follow Me On Pinterest
Subscribe To My YouTube Channel
Supplies Used
If you are in Europe (UK, DE, FR, NL or AT ) you can purchase any of the products below through me in my Online Store. Click on any of the links to take you directly to that item.
")
")

 Specialty Designer Series Paper")


 Metallic-Edge Ribbon")


1 comment:
You did a wonderful tutorial. I watch another but it was very difficult to follow yours was really goo.
Post a Comment